Showing posts with label retro. Show all posts

Saturday, 11 May 2013

Fudge Iced Ginger Bread - Back to school dinners


 photo E805A57C-FDB2-46FD-A911-1C7DC1F49D1D-20730-000023D4B71E0DA1_zps866f1eaf.jpg
Back in 2003 I had a website, a really successful website about the social history food and of school dinners in particular. I recreated them and it was incredible how much interest there was especially in the puddings, this was the days before The Bake Off, the baking "renaissance"  and the internet being saturated with recipes. I had a sort of monopoly .. I was even in discussions about a book with a publisher but then life happened, my Dad was taken from us and the hands of time seemed to stop, I couldn't face looking at the website anymore or even thinking about it, what was such a passion became sickening over night, the human brain is a funny old thing and I often think about what "could have been" if I had kept going. There is no point dwelling on the past though and those recipes are still there in the form of my tatty old 1960s Birmingham school meals handbook along with my scrawled improvements or modern measurements / temperatures so I thought it was about time I brought some of them back to life again! Of course there was Chocolate Concrete, Manchester Tart and Sticky Toffee Pudding but my personal favourite has always been this the "Fudge Iced Ginger Bread", oh how I LOVED it .. always being obsessed with my belly I used to dream about it all the way through double maths and would be absolutely gutted if my year group was on "last dinners" and it had all gone. It has been many years since I have made it but now as the delicious of waft of ginger still lingers in the air of my home I think the love affair is about to be rekindled... It is delicious served warm with a big portion of custard or cold on its own as an afternoon treat. It keeps for up to 5 days in a sealed container and actually improves with age, the longer you leave it the bigger the layer of sticky deliciousness on the bottom gets. 

Just a quick note on the recipe, for once margarine is best. Forget about it being made to force feed turkeys during the war and all that malarky just get yourself a tub of Stork and go with it! Butter just doesn't work as well. Also use the cheapest ingredients you have (really!!), remember school cooks had a really tight budget and there was certainly no room for organic this or fair trade that, I have used bog standard plain flour, granulated sugar and stork. I have used a free range egg though :) 

Ingredients:

For the cake: 

8oz Plain Flour
4 level teaspoons ground ginger 
4oz Stork or margarine
4oz granulated sugar 
8oz golden syrup
1/4 pint milk
1 egg 
1 level teaspoon bicarbonate of soda

For the "fudge icing"

1oz margarine
2 dessertspoons of milk 
6oz icing sugar 

1. Prepare a swiss roll tin - line with parchment paper (it is REALLY important it is lined with non stick paper). Preheat your oven to 150c / gas mark 2 / 315F

2. Put the margarine, sugar, milk and golden syrup in a saucepan and melt on a low heat until all the ingredients are combined. Leave to cool for around 5 minutes.

3. Sieve the flour into a mixing bowl and then sieve in the ground ginger. 

4. Beat the egg and bicarbonate of soda into the melted marg mixture.

5. Pour this into the dry ingredients and beat for 5 minutes (yes, 5 minutes). 

Your mixture should look like this (I always think carrot cake batter without the carrots)
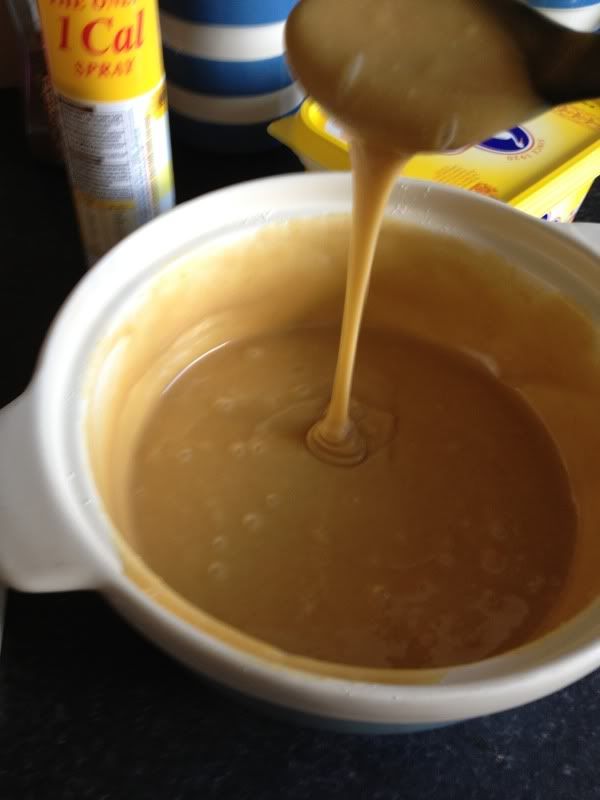


 photo 902C0FB0-1FE6-478B-8A60-E1450B44A04E-20730-000023D507B44C05_zpsbc9aa41e.jpg

6. Pour into the prepared tin and pop in the middle of the oven and bake for 50 minutes (yep, that isn't a typo, 50 minutes).

Meanwhile prepare the fudge icing. 

7. Put the butter and milk into a saucepan and melt over a low heat, this won't take long, take off the heat, turn the heat off.

8.  Beat in the icing sugar, beat until it is shiny and smooth, it will be rather yellow - don't worry about it! Put to one side to cool.

9. Take the cake out of the oven, if it is "hissing" it needs a couple of more minutes. It should be spongy and quiet firm. 

10. Beat the fudge icing again to remove any skin that has formed and pour over the hot cake. Spread all over with a pallet knife and leave to cool in the tin. 

11. When cool, slice and eat - or slice and store for up to 5 days in a sealed container. It lasts about 2 hours in my house though, half is already gone as I type! This is not a time for fancy pants photos on vintage platters so here is the final masterpiece! It is simple and so SO tongue tingling delicious and so, so light! 
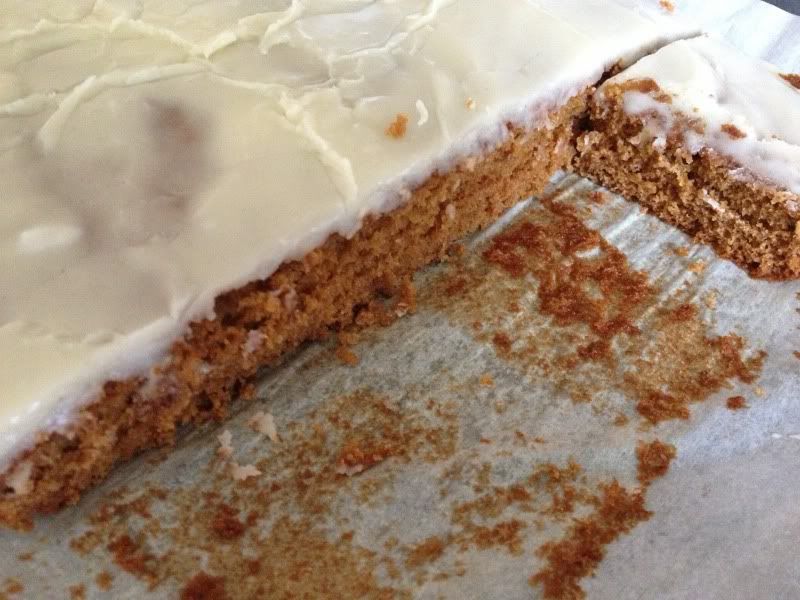

 photo EB8B9789-0D14-43B4-B35C-AEC764A6B38B-20730-000023D9B2FC6654_zpsafdd3c72.jpg


Friday, 3 May 2013

Walnut Whip Cupcakes (Sweetie Challenge part 1)

 photo 129FE665-E07B-4A63-A8EF-4811F90C356E-13968-0000196B035FF4AF_zps68772c34.jpg

I lost my baking mojo a bit in the last week or so,  I had been feeling a bit down in the dumps and didn't seem to be able to get inspired, however, last night during that lovely period of being awake and dropping off to sleep I remembered I had some frozen egg whites (as you do!!) and was thinking about what I could do with them, my mind is never far away from sweet delights and I wondered if I could have a go at making a Walnut Whip using Italian meringue? Hmm, I thought, might be tricky to get that cone shape without a mold .. so why not build the shape using cake as a base? zzzzzz .. 9 hours of sleep later they were still on my mind and all day at work ... SO, due to a particularly stressful day of safeguarding issues and running about like a headless Tutor I came home with my baking head in fifth gear and got cracking right away .. here is the result. This is the first of a series of recipes I have designed that remind me of my childhood, of a Sunday evening my Dad would always pop out to the local newsagent for treats and it was Mom who always wanted a Walnut Whip.

In brief the recipe is for a chocolate and walnut  American cupcake style sponge base, an Italian meringue "whip" with a slight lemony twist (I always thought Walnut Whips tasted like they had a bit of lemon in that fluffy bit ..) and a high quality Belgian chocolate shell - crowned with a walnut .. of course!


Makes 12 large cupcakes (Muffin size paper cases).

For the cupcake base (best results in a freestanding mixer). 

200g plain flour

5 tablespoons cocoa powder (I used Cadbury Bournville).
80g unsalted butter
260g golden caster sugar
4 flat teaspoons baking powder
240ml whole milk
2 medium eggs
1 teaspoon vanilla bean paste (or extract).
50g finely chopped walnuts.

For the whip see "Italian Meringue" section of my Fruit Salad pie recipe, you will need a half quantity of this recipe.
1/4 teaspoon lemon extract
If you feel like cheating .. I think you could probably use Marshmallow Fluff - although I have not tried this and can't be responsible if it's awful .. 

Chocolate Topping.

300g of the best quality milk chocolate you can afford. I used Lindt milk. 

12 whole walnuts.

Method 

1. Make the cakes


Preheat the oven to 180c and line a muffin tin with 12 wrappers.

Finely chop the walnuts.

Sieve the flour into the bowl of a freestanding mixer with beater attachment, add the sugar, baking powder, butter and cocoa powder.

Measure the milk in a jug and crack in the two eggs, finally add the vanilla bean paste.

Switch on the mixer containing the dry ingredients and butter and wizz until you have a fine breadcrumb consistency.

Keep the beater going and slowly pour in the milk, egg & vanilla mixture and beat on medium speed for 2 minutes.

Add the walnuts and beat again until they are mixed in.

Pour the batter into the cake cases until they are 3/4 full.

Place the cakes on the middle shelf in the oven for 20 minutes. They will rise into a nice peak.

When baked remove from the oven and leave in the tin for around 5 minutes then remove them from the tin to cool completely on a wire rack.

2. Make the Whip

Follow my recipe for Italian Meringue but half the recipe


When the meringue is ready add the 1/4 teaspoon of lemon extract and give it a final whip.

Put the meringue in a disposable piping bag and place to one side.


3. Make them pretty 


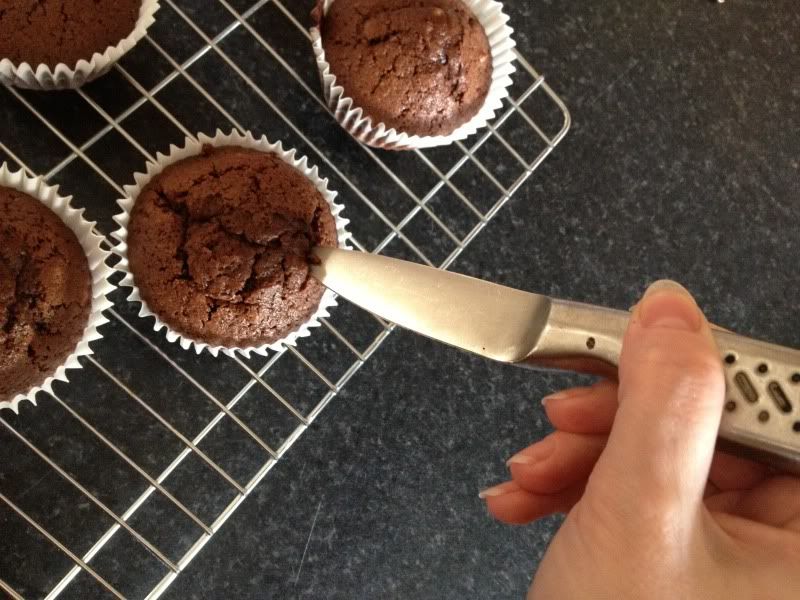
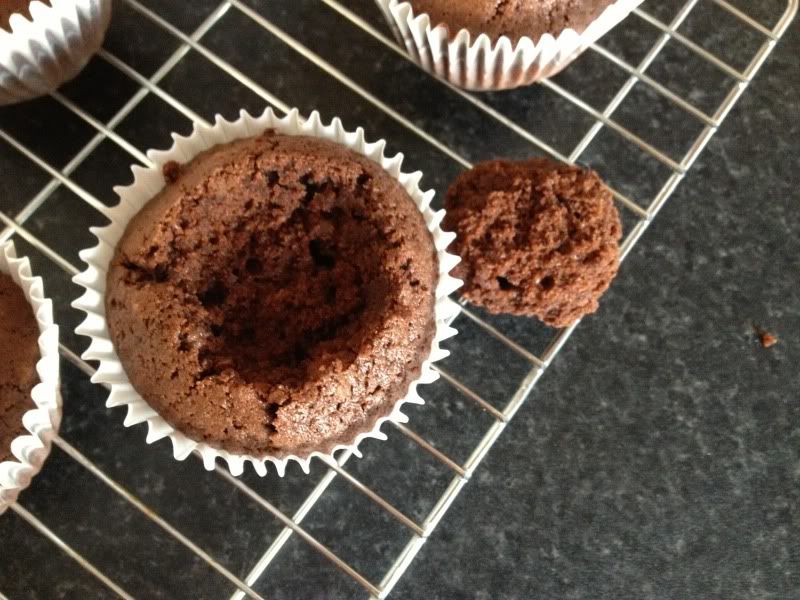
 Take the cooled cakes and cut the peaks off each cake leaving a slight crater, in a similar way as you would make a butterfly cake (see photographs). 


 photo 7B1A6398-FDE4-4BD4-A744-2CD8A5178CDB-13968-0000196AEA55B1B9_zps8e3798d4.jpg photo 5250538B-814B-4E4C-BB84-C02166E448E0-13968-0000196AFD39FAEE_zps049c59b6.jpg


Trim the end off the piping bag (you don't need a nozzle) and pipe a swirl of meringue inside the crater and into a peak, it can be as tall as you like ...


 photo 5EC6F6CE-DCC2-47DD-9377-7BCC29A8BA74-13968-0000196AF5DF28B3_zps9ef3b192.jpg

Melt 200g of the chocolate and remove from the heat, throw in the remaining 100g of chocolate and allow the heat to melt it naturally, stirring continuously with a metal spoon. 

When all the chocolate is melted allow it to cool slightly, you need the chocolate to be on the cool side when you apply the shell to your walnut whip, this is because the meringue might weep, even though Italian meringue should be quiet stable (you don't want to risk it after all your hard work).

Use a teaspoon and gently pour the chocolate over the meringue a teaspoon at a time, gently teasing the chocolate down to create a shell - patience and a gentle touch is essential here. You need the chocolate to totally encase the meringue and create a seal between the meringue and the atmosphere - this will mean the cakes will be fresher for longer. 

Finally crown each cake with a walnut half. 

Leave the chocolate to completely set. 

Enjoy! These will keep for 3 days in a sealed container (if they are around for that long). 


 photo 4105281E-50D7-4AC1-8368-A5AFCE2E8657-13968-0000196AAE6A140F_zps12eca0ac.jpg

Recipe & photographs copyright Lucy Scott 2013